Showing posts with label Barry M. Show all posts

Wednesday, 22 April 2015

Nails | BarryM Aquarium 'Pacific'

Hey guys!

Here are my current nails. I absolutely love the colour! It is from the Barry M Aquarium collection in Pacific and I got it as one of my birthday presents from my friends. 

The colour is a stunning petrol blue colour which is super shiny with a hint of seaweed green. Perfect for the theme!

I  particularly like the brush on the nail polish because it is thin so you can do your nails easily without getting any polish on the skin surrounding it. The packaging is also beautiful with a gold lid and scales on. It reminds me of a mermaid!                         

As for the polish, it has great wear time. I have had the polish on for 3 days so far and it hasn't even chipped! I love long lasting nail colour as it means I don't have to fill in the chips every night wasting time which I have to do with a lot of nail polish.

Overall I love this nail colour, the packaging and the wear. I couldn't ask for anything more and I will definitely consider the rest of the collection. You can get it for £3.99 which is an a fantastic price.

Have you used any of the Barry M Aquarium Collection? Let me know!

Sunday, 22 March 2015

Boots 3 for 2 Mini Haul!

Hey all!

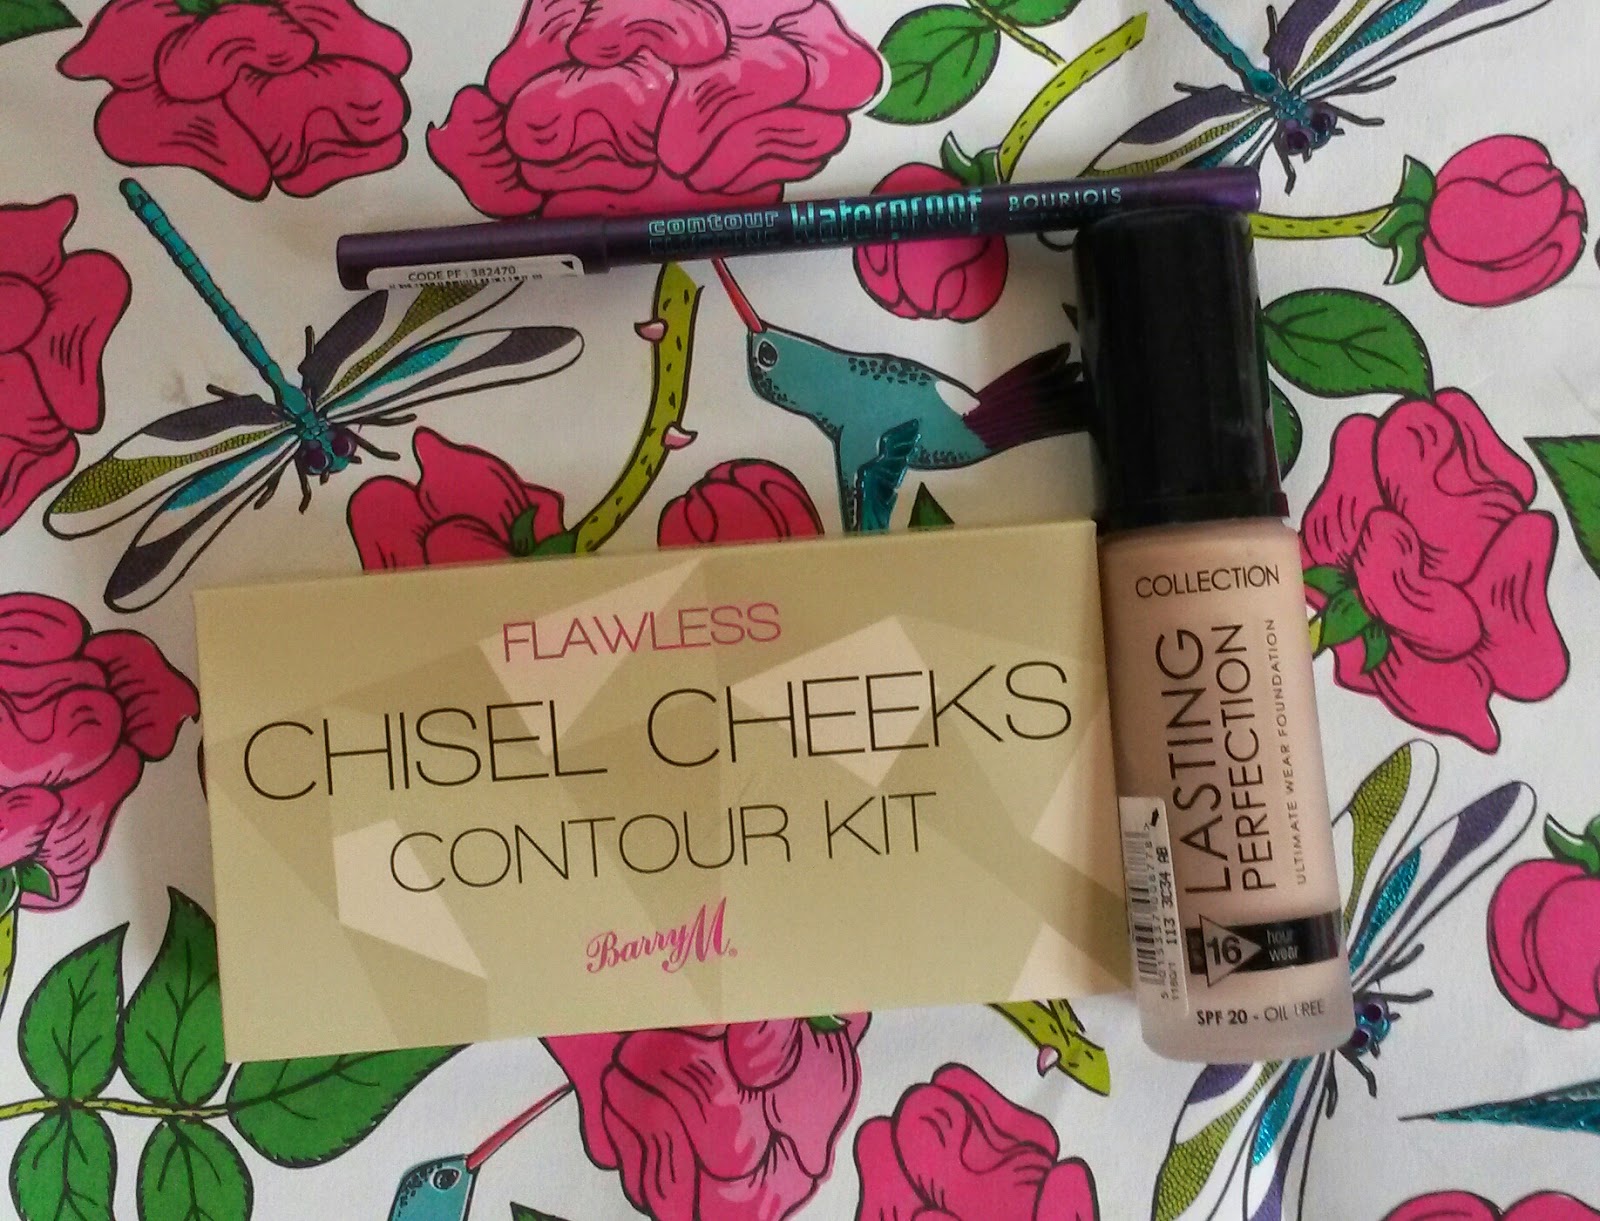
I needed to go to Boots this weekend to replenish my usual foundation. When I was there, I saw everything was 3 for 2! I've been on a spending ban since the beginning of the year as I am not in a job at the moment and I'm trying to save for my gap year so I thought I may as well treat myself. I haven't had any new make up in ages!


So first of all, I bought my holy grail foundation which is the Collection Lasting Perfection foundation (review here). I like it because it' inexpensive, full coverage and lasts all day.


Next, I picked up the new Barry M Flawless Chisel Cheeks Contour Kit. A review on this will definitely be coming up soon! I have been eyeing this up for weeks now and after watching/reading reviews on it I finally went for it and bought it. I am a beginner when it comes to contouring so hopefully this will teach me a thing or two!


The last thing I got was on a complete whim. I had never seen it before but when I was looking for something I'd want for free out of the 3 for 2 deal this caught my eye. I have been wanting some bright coloured eyeliners for a while so when I spotted the Bourjois Contour Clubbing Eyeliner in 'Purple Night' I knew I had to try it. It is an absolutely stunning bright, deep purple with slight purple shimmer in it. It's gorgeous and I cannot wait to review it for you!


So there we go! Have you used any of these products? Let me know!

Friday, 12 September 2014

Nails: 50 Shades of Blue

Hello!

Here are my current nails. I used;

*Barry M Gelly Nails 
*Models Own Hyper Gel
*Models Own Speckled Egg

Although my ring finger is a speckled green, I decided it was pretty similar to the two shades of blue on my other fingers. These colours worked so much better together than expected and I received a lot of compliments on them!


What are on your nails this week?


PS- Sorry this is a short post! I have been super busy trying to do a big essay for University stuff so I haven't had any free time. I was hoping to find someone or some people to do some guest posting for me so I could take a break to concentrate on my work but I have had no such luck. 

Monday, 28 April 2014

HOW TO: Creeping Vine Nail Art!

Hello!

Here is a simple and fun-looking nail art design for you. The 'creeping vine' comes from my days in high school where I would find myself so bored I would start drawing these vines going up all my exercise books. Needless to say my teachers weren't very impressed!


You Will Need:

*A base coat
*A base colour (I used this one from Barry M!)
*A black striper/black nail art pen (I used the one above from Barry M!)
*A shiny top coat

1. Paint your nails with your base coat to protect your nails from staining.

2. Paint your nails with your base colour and leave it to dry completely otherwise the design won't work properly! 

3. To do the creeping vine, use your pen/striper to draw a line from the left bottom corner of your nail to near the centre. Then, draw some various sized lines coming off from each side. The trick is to make the lines coming out of other lines really random and at different sizes. Make sure most of them continue the cycle and leave one or two as they are. Continue this until you are satisfied with the look.

4. Making sure you have left your design to completely dry so the black lines do not smudge, paint on your top coat.

Done!


There you have it! What do you think? Let me know if you recreate it!


Friday, 31 January 2014

Barry M Nail Art Pens Review!

Hello BumbleBeas :-)

Today I wanted to do a quick review for you on the Barry M nail art pens which I currently have in black and pink as a Christmas presents from my mother.


I love these pens! They're great for people who are beginners with nail art and want to get some practice in. Also, as someone who gets shaky hands, I find it really easy to control and do some fine lines with. What's great is that the tip is just like a pen so when you're doing the art you feel comfortable with it as it is just like using a normal day to day writing pen!


Here is some random doodling I did on my nails with the black nail art pen: 


I highly recommend these nail art pens and I definitely will use them often and want more. Good on you, Barry M!

Do you own any of these nail art pens? What do you think of them? Let me know!